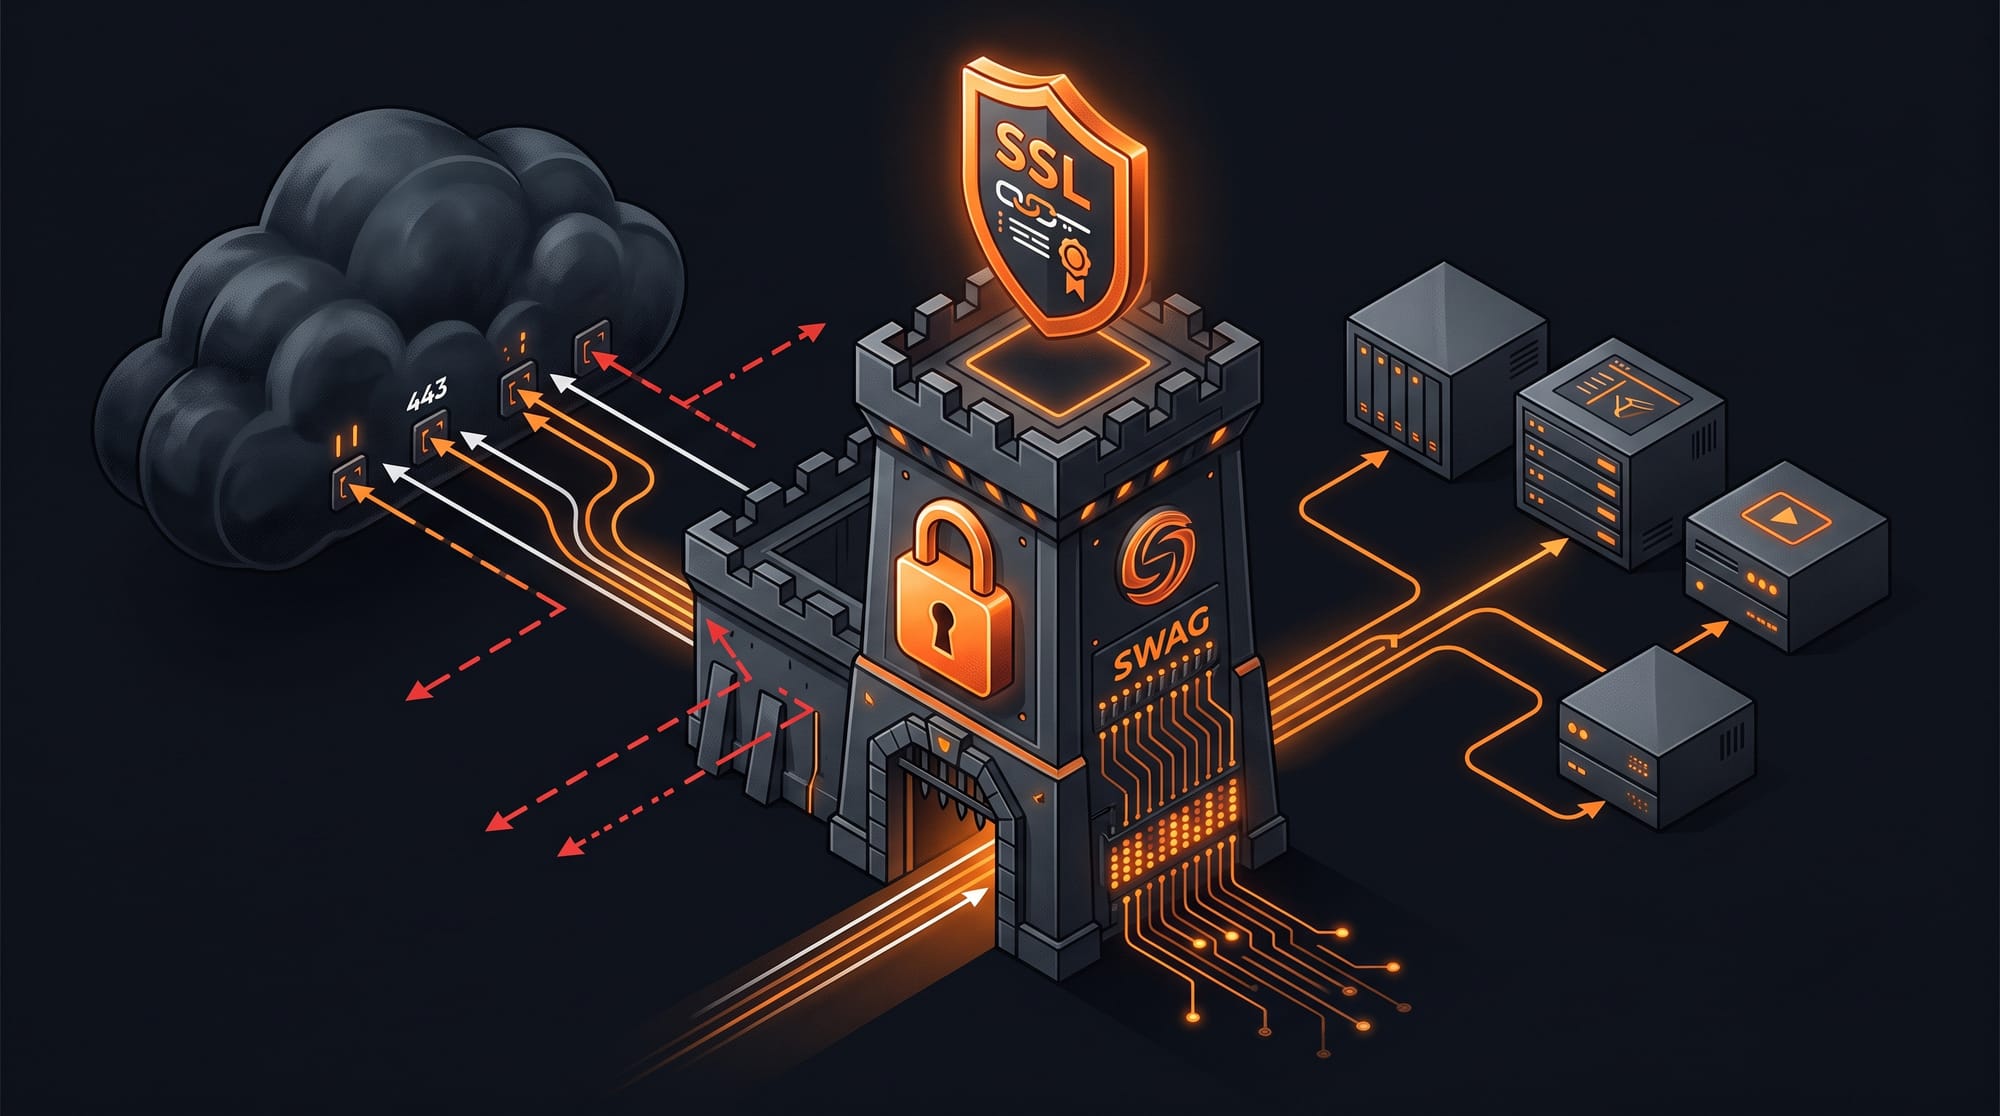
Setup SWAG to safely expose your self-hosted applications to the internet
SWAG is a rebirth of letsencrypt docker image, a full fledged web server and reverse proxy that includes Nginx, Php7, Certbot (Let's Encrypt client) and Fail2ban.
Few years ago, I was using the reverse proxy provided by my Synology NAS and generating my SSL certificate directly with the LetsEncrypt container by LinuxServer which is now deprecated.

For few months now, I'm running with SWAG!

What is SWAG?
Swag is a term that refers to a person's sense of style or skills. It is derived from "swagger" and was made popular by hip-hop culture.
Seriously speaking, SWAG is a rebirth of letsencrypt docker image, a full fledged web server and reverse proxy that includes Nginx, Php7, Certbot (Let's Encrypt client) and Fail2ban. No more confusion or trademark issue related to the name "letsencrypt".
MariaDB docker image
How to setup SWAG for your domain?
Docker Compose
First thing first, you need to create a folder for this project and put inside your docker-compose.yml file.
version: "2.1"
services:
  swag:
    image: lscr.io/linuxserver/swag:latest
    container_name: swag
    restart: unless-stopped
    cap_add:
      - NET_ADMIN
    environment:
      - PUID=1026
      - PGID=100
      - TZ=Europe/Zurich
      - URL=yourdomain.xyz
      - SUBDOMAINS=wildcard
      - VALIDATION=dns
      - DNSPLUGIN=cloudflare
      - EMAIL=youremailaddress@protonmail.com
    volumes:
      - ./config:/config
    ports:
      - 443:443
      - 80:80
    labels:
      - com.centurylinklabs.watchtower.enable=true
      - deunhealth.restart.on.unhealthy=true
Please remember to create all folders and files before trying to launch your docker-compose.
How does it look like on my server:
swag/
      |_ docker-compose.yaml
      |_ config/
Before starting, let's encrypt speak about the content of this docker compose file.
- URL
This is the URL of your domain. It will be used to generate the SSL certificate but also for the DNS validation - SUBDOMAINS
You can list all subdomains you would like to cover with your SSL certificate or just setwildcardto cover them all. It will result with a certification for *.yourdomain.xyz - VALIDATION
This describe the method used by the container to validate your ownership of the above-mentioned domain. We are going to use the DNS validation. - DNSPLUGIN
I'm settingcloudflarewhich is my DNS as you will see below. It's one of the various DNS supported by SWAG. More information on the official documentation - EMAIL
Your email address to be used to get your free Let's Encrypt SSL certificate for your domain
DNS provider
Cloudflare is recommended due to being free and reliable. To switch to Cloudflare, you can register for a free account and follow their steps to point the nameservers to Cloudflare. The rest of the instructions assume that you are using the cloudflare DNS plugin but it's quite the same for others.
On your DNS provider, you will need to create an A record for the main domain and point it to our server IP. Then you will also create a CNAME for all your subdomains or a CNAME for * and point it to the A record for the domain. On Cloudflare, we'll click on the orange cloud to turn it grey so that it is DNS only and not cached/proxied by Cloudflare, which would add more complexities.
You can now start your docker container for the first time to generate all the files in your config folder with docker-compose up. You might see some errors because we didn't provide all information yet for the DNS validation but you need that first start to generate the required files. Exit with CTRL + C.
You can now edit the file /swag/config/dns-conf/cloudflare.iniwith your favorite text editor and add your Cloudflare email address and Global API key. Save it and relaunch the container with docker-compose up -d.
dns_cloudflare_email = youremailaddress@protonmail.com
dns_cloudflare_api_key = yourglobalapikey🎉 Congrats!
SWAG is running and your Let's Encrypt SSL certificate has been generated for your domain!
SWAG is running on your server, you can see it by accessing it on port 443 (HTTPS) or 80 (HTTP) of your local machine.

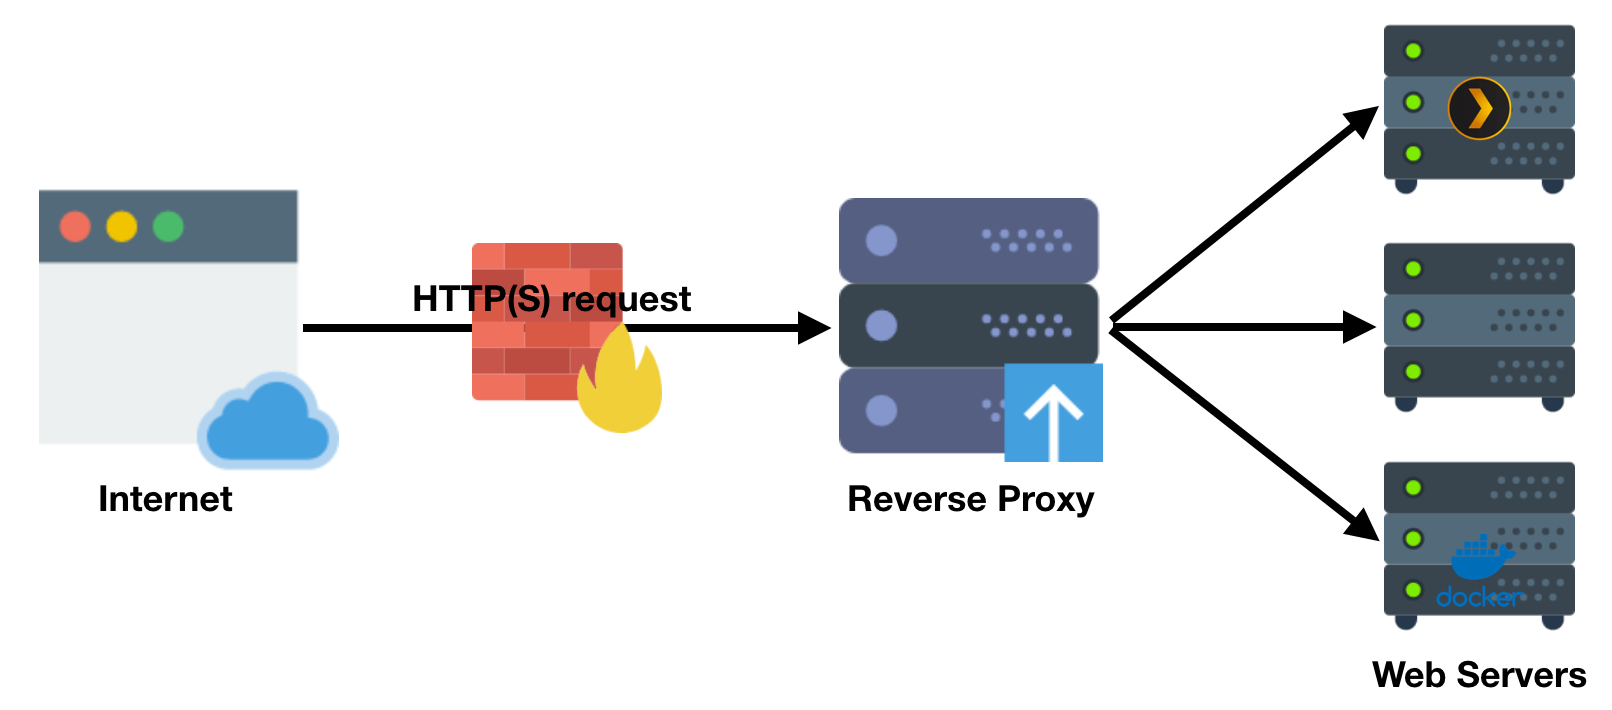
Reverse Proxy
A reverse proxy is a type of proxy server that retrieves resources on behalf of a client from one or more servers. These resources are then returned to the client as if they originated from the Web server itself.
You need now to setup a reverse proxy to redirect each of your subdomains to the correct self-hosted application. No worries, SWAG comes with Nginx embedded!
The SWAG image comes with a list of preset reverse proxy configuration files for popular apps and services such as Jellyfin, Heimdall, Vaultwarden, etc. They are all hosted on GitHub and are automatically pulled into the /swag/config/nginx/proxy-confs folder as inactive sample files.
Let's activate some of them to get access to our applications from Internet!
To activate one, you must rename the conf file to remove .sample from its filename and restart the SWAG container.
You can simply do cp jellyfin.subdomain.conf.sample jellyfin.subdomain.confto get your configuration file ready for editing for the application Jellyfin.
Now let's see what is inside the file with nano jellyfin.subdomain.conf.
What matter for us is pretty simple:
- server_name jellyfin.*;
Only destination addresses that matchjellyfin.*will match this server block. You need to replacejellyfinby the subdomain name you want to use - set $upstream_app jellyfin;
This is the container name used as dns hostname of the application your want to target. You can also replace it by the IP of the machine (e.g. 192.128.1.152)
If you use the hostname, please ensure SWAG and Jellyfin share the same network - set $upstream_port 8096;
This is the port where the application is running. You can replace it by your Jellyfin port. If above, you used the IP of the machine, use the external port otherwise the internal one - set $upstream_proto http;
This is the protocol - If you want to know more about the structure of this file, please refer to the official documentation about understanding the proxy conf structure
With this configuration, any hit on jellyfin.yourdomain.xyzwill be redirected to your local application http://192.168.1.152:8096.
Don't forget to update the variable's values in all location section of the file
🎉 Congrats!
Your self-hosted application is now accessible from the Internet!
Extra security layers
Enable HSTS
HTTP Strict Transport Securitywidely supportedalwayshttp://https://https://https.cio.gov/hsts/It's very simple to activate with SWAG!
- Edit the file
ssl.confwithnano swag/config/nginx/ssl.conf - Uncomment the line
add_header Strict-Transport-Security "max-age=63072000; includeSubDomains; preload" always; - Save with CTRL + X
- Restart SWAG with
docker restart swag
Setup Fail2ban
Fail2Ban is an intrusion prevention software framework that protects servers from brute-force attacks. It's also included in the SWAG docker image! Let's take your Jellyfin application as example.
Create a new jail
First, you need to edit the list of Fail2ban jails to add one for this application with nano /swag/config/fail2ban/jail.local and add a new section for Jellyfin application.
[jellyfin]
enabled  = true
filter   = jellyfin
port     = http,https
logpath  = /config/log/nginx/access.log
maxretry = 4- enabled
Define if the jail is active or not - filter
The filter name used for this jail, we will create it after - port
Which standard ports it covers. It can include http, https, ssh, sftp and many others - logpath
Path to the log file which is provided to the filter - maxretry
Number of matches which triggers ban action on the IP - bantime
Duration (in seconds) for IP to be banned for. Negative number for "permanent" ban
NOTE: Each parameter can be overridden in each jail, if missing it will fallback to the one from the [DEFAULT] jail defined on top of /swag/config/fail2ban/jail.local.
Create a new filter
Secondly, you need to create a filter to be used on the logs above-mentioned to define what to catch and count as intrusion attempts by using nano /swag/config/fail2ban/filter.d/jellyfin.conf and paste this filter inside to catch all 401 errors.
[Definition]
failregex = ^<HOST> \- \S+ \[\] \"(GET|POST|CONNECT|PUT|DELETE) \/.*? \S+\" 401 .+$You can now save the file and restart SWAG with docker restart swag.
Test your Fail2Ban setup
It's actually pretty easy to test!
- Connect yourself to a VPN server
- Access your website via
https://jellyfin.yourdomain.xyz - Fail 4 times the authentication
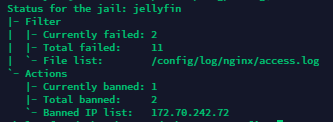
- You can check the status of the jail to see the IP being blocked with
docker exec -it swag fail2ban-client status jellyfin
Few useful commands for Fail2ban
- List all your active jails
docker exec -it swag fail2ban-client status - List banned IPs for a jail
docker exec -it swag fail2ban-client status <JAIL_NAME> - Manually unban an IP for a jail
docker exec -it swag fail2ban-client set <JAIL_NAME> unbanip <IP> - Manually ban an IP for a jail
docker exec -it swag fail2ban-client set <JAIL_NAME> banip <IP>
🎉 Congrats!
You have applied 2 extra layers of security on top of your self-hosted application including Fail2ban!
YOU'RE SWAGGY AF!